

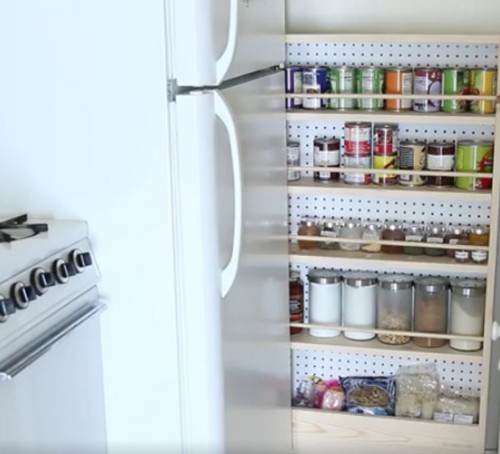
If you’ve always wished you could put that awkward space between your fridge and the wall to good use, here’s an awesome idea. All it takes is a few boards and some casters to create a handy slide-out pantry.
What you need:
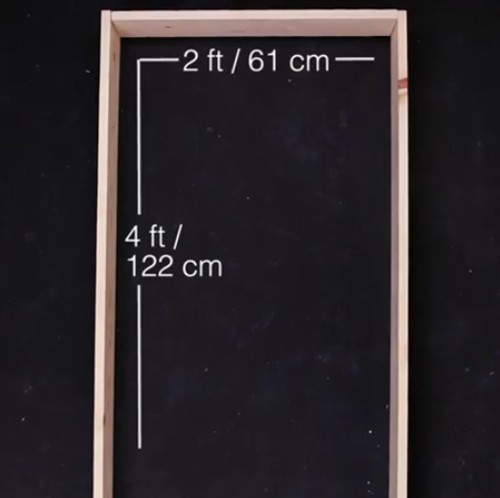
- 2 pieces of 4-foot long; 6-inch wide boards
- 7 pieces of 2-foot long; 6-inch wide boards
- 4 ½-inch rods
- Wood glue
- Wood screws
- Drill
- Sandpaper or power sander
- 4 casters
- 4-foot x 2-foot pegboard or thin board for backing
Instructions:
Measure between fridge and wall.

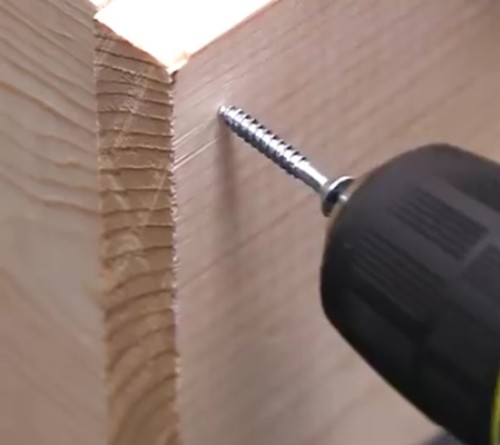
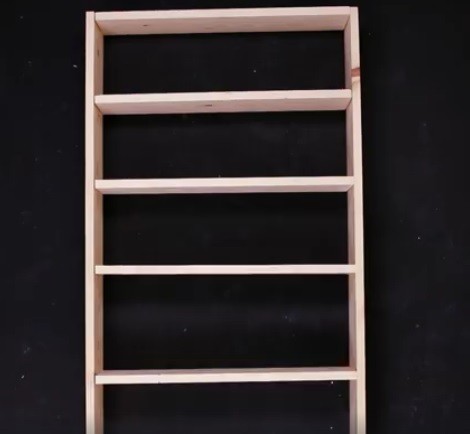
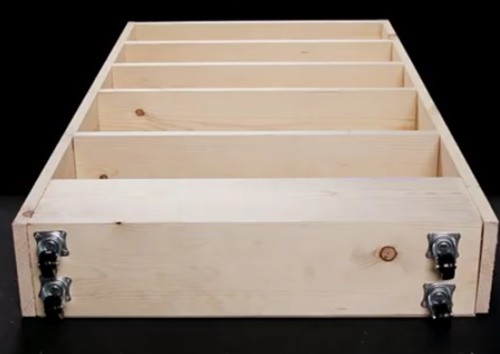
Layout the frame using the two 4-foot boards as the sides and a 2-foot board as the top. Drill them into place.
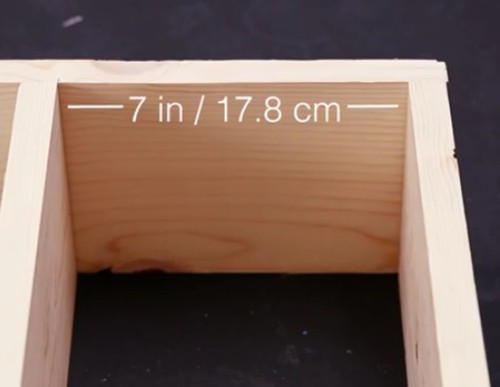
Add the first three shelves about 7 inches apart. Then space the rest according to your needs. We created a storage bin at the bottom by drilling a 2-foot board across the front. This base is great for larger items like grains and potatoes.
Related: DIY $20 Survival Food Bucket
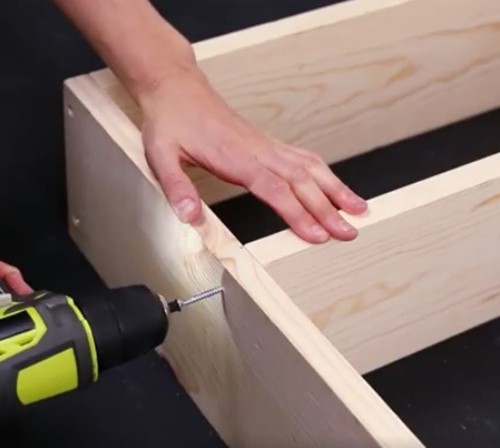
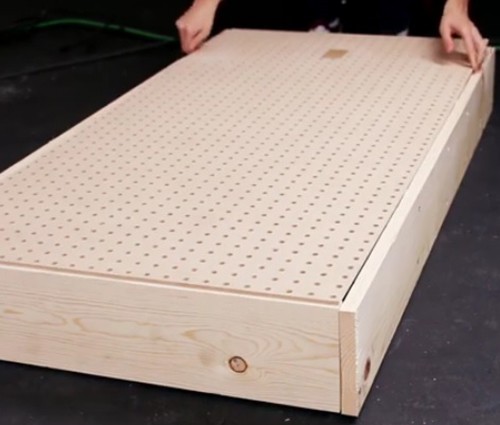
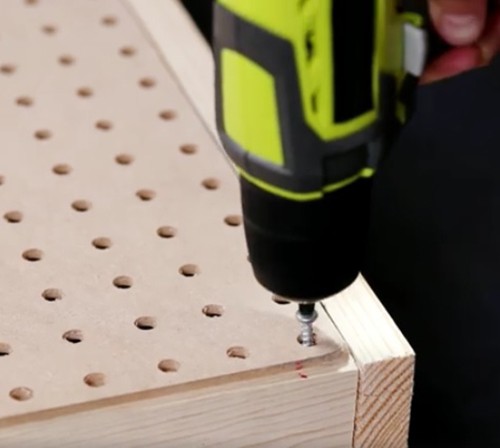
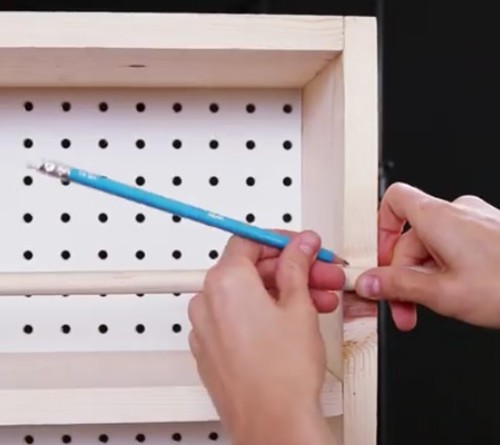
Flip the shelves upside down and attach the backing.
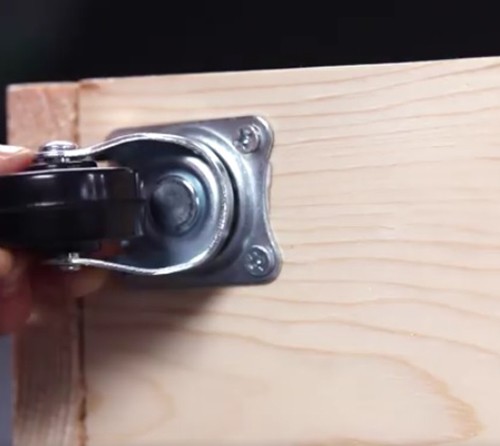
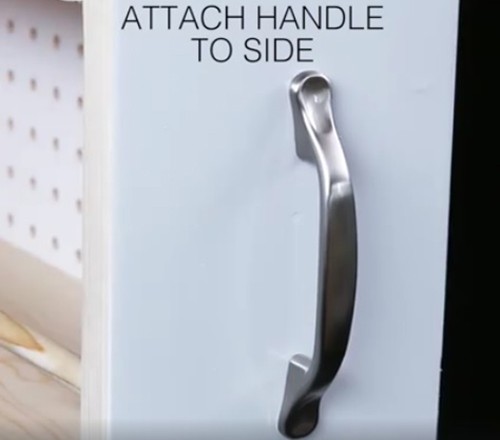
Add casters to the four corners of the bottom.

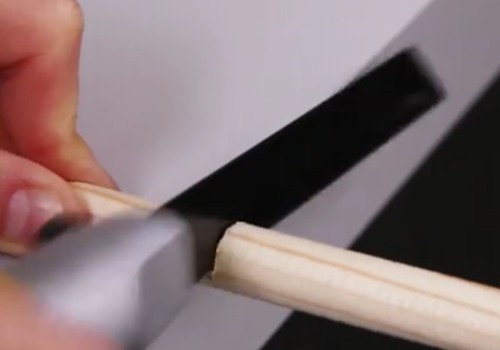
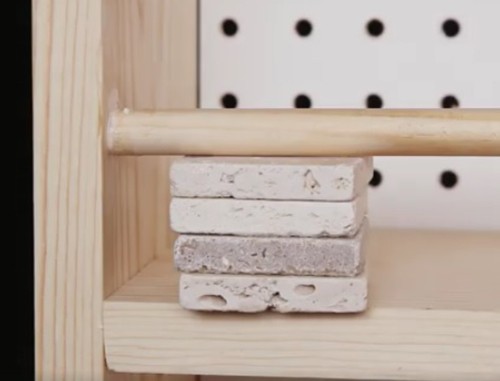
Cut rods to size and glue them in front of each shelf to keep things in place.


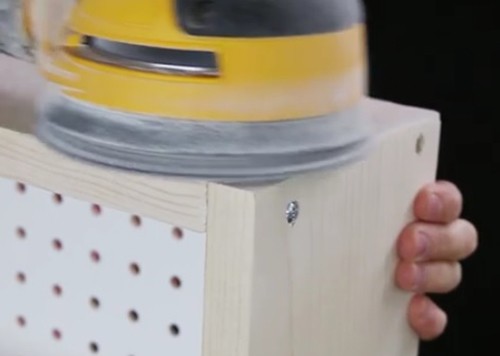
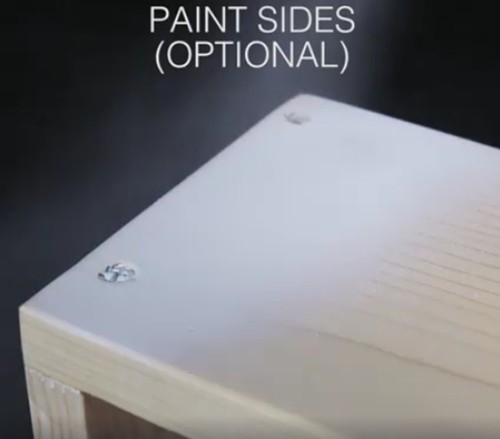
Use sandpaper or power sander to smooth surfaces.
Slide your new pantry into place and enjoy the extra space!
Related: 36 PVC DIY Projects for Your Homestead


 in Cereal?")

