
Power’s out; car won’t start, pantry’s empty – anything can happen. You either need to learn how to make do without or to take the high road which, in this case, means making it yourself. I’ve spent many sleepless nights thinking about how to be even more self-sufficient. Sure, learning how to whip up a quick dinner or to repair stuff around the house helps, but something was missing.
Then it hit me: what if took a breather from shopping and instead tried to make my own things at home? “How hard can it be?”, I told myself. Well, everything’s hard if don’t know what you’re doing. Luckily, I have this magic lamp called Google which revealed a couple of very handy instructions on how to make day-to-day items.
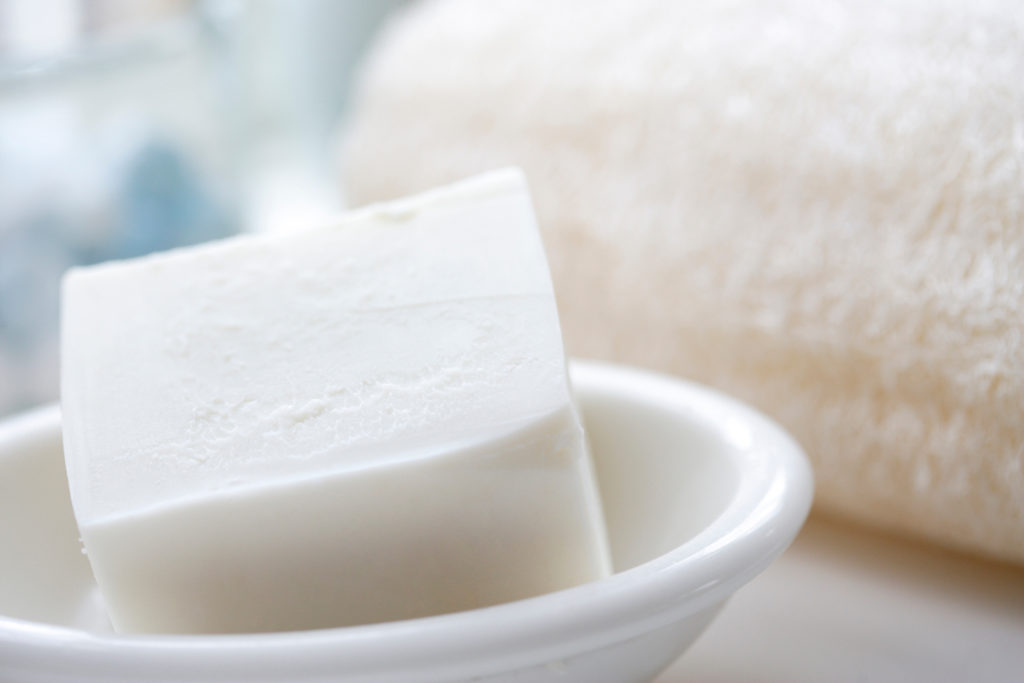
So, for my first no-shop month, I started with one of the most common things found around the house: soap. Yes, I stopped stockpiling it for a while and instead I tried a quick and easy recipe I got off the Internet. Have to say that I’m quite impressed with how it turned out, considering that I had no clue as to how soap-making works.
Pity that my great-grandmother passed away. Mom always used to talk about how she spent hours toiling in the shed, making soap and all kind of cosmetic stuff. Apparently, the bars my great-granny made were so good, that you could hardly make any difference between her home-stuff and supermarket soap.
Anyway, because I know that most of you people would rather make than buy, I’ve decided to share with you the recipe I’ve uncovered. As I’ve told you, it’s super easy to make, and with a couple of other ingredients, you won’t even know the difference. So, enough chit-chat! Let’s get cooking.
Materials needed
- An old newspaper (to cover your work area)
- Canning jar (I used a quart jar for this project).
- Gloves and goggles.
- Spoon.
- Thermometer.
As for ingredients, you will need:
- Coconut oil (about 2/3 of a cup).
- Olive oil (2/3 of a cup).
- Liquid oil of choice (you can use sunflower, almond or grapeseed oil; aim for 2/3 of a cup).
- Lye (around ¼ of a cup).
- Distilled water (2/3 of a cup).
How to make

Step 1. Cover the table with the newspaper and put on your protective gear.
Step 2. Put the canning jar on your work area.
Step 3. Pour the water into the canning jar.
Step 4. Slowly pour the lye over the water, while stirring with your spoon. Don’t get too close, as the fumes resulting from the reaction are toxic.
Step 5. Wait for the mixture to settle. You can proceed with the next step when the water clears up.
Step 6. In a pan or bowl, mix your coconut oil, olive oil, and the third oil of your choice (I used sunflower for this recipe).
Step 7. Stick the pan of mixed oils in a microwave for about one or two minutes. When it’s done, stick the thermometer in and check the temperature. It should be between 95 and 105 degrees. This is the sweet spot of soap-making – it the temp’s lower, you’ll end up with mush.
Step 8. After the oil mixture reached the right temp, pour it in the canning jar over the lye and water. You may want to add an extra ¼ cup of lye to ensure consistency. Slowly add the lye while stirring with your spoon.
Step 9. Stir the mixture for about five minutes. It should have a nice, vanilla-like color. You know it’s done when it starts to thicken.
Step 10. Add herbs or oil of your choice. Stir until they’re incorporated.
Step 11. Place the mixture into molds (I used an old baking tray for this experiment).
Step 12. Cover with plastic wrap and store in a dry and dark place.
Step 13. Check the mold every 24 hours.
I should warn you though that home-made soap is not something that magically appears overnight. In fact, the curing process takes about two to four weeks depending on environmental factors such as moisture and heat. So, if I were you, I wouldn’t hold my breath. Another thing you should know is that your kitchen or garage will end up smelling like a funeral home after doing this, mostly because of the lye.
Last, but not least, always remember to measure your stuff before adding them to the canning jar. If you pour too much or too little, you’ll end up with a mushy thing that won’t cure. As for the aesthetic part, you’re free to choose the shape of your soap.

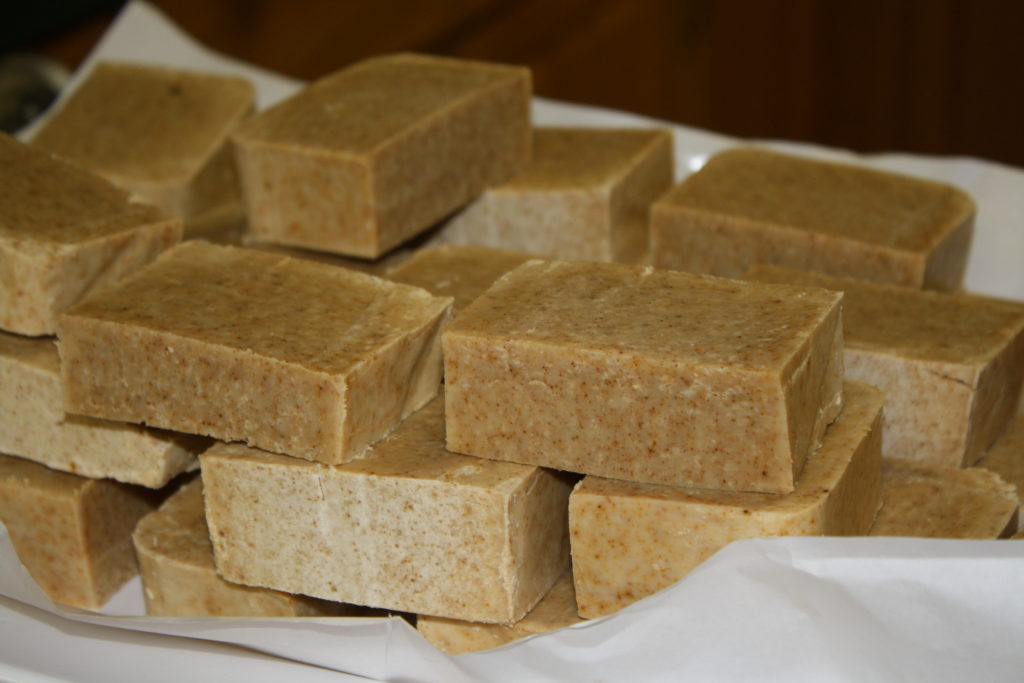
Sure, the rectangular part would be the most obvious choice since it’s easier to handle, but you can opt for any shape that comes to mind. Just be sure to make hand-size bars. What I did after the soap has cured was to drill a hole near one of the edges and draw a string through it. That way, I don’t have to worry about dropping the soap while bathing (no, it’s not what you think).
As for the storage bit, once you’ve cut them into shape, you can store them in an airtight container. Make sure that the place you’ll be keeping your bars of home-made soap is dry.
Now, if you want to add a bar of soap into your B.O.B or household survival kit, wrap it in food foil before tossing it inside. It may be a good idea to throw in a desiccant pack or two to prevent the soap from drawing too much moisture from the air.
See how easy it is to make your own hygiene products? Well, this turned out rather well, if I can say so myself. In fact, this project gave me enough confidence to try out some other stuff. I have this buddy of mine who uses natural glycerin and herbs to make ointments and beauty cream. Maybe I’ll try a recipe or two and let you know how it turned up.


 in Cereal?")

