

Earlier this week, someone asked me what the best survival food is, and to my own surprise, I realized I didn’t have an answer. Acorns are great if you’re living off the grid. Potatoes are an excellent choice if you have a survival garden. Pemmican is awesome for preppers who like to cook. But the best…?
I went through some of my old articles such as the ones about the best canned foods, foods that last forever and best foods for bug out bags, but I couldn’t decide
Ultimately, I went with a food that has lots of uses besides eating. I almost settled on coconut oil, which I use all the time, but I finally decided that the best survival food ever is lard.
So, today I will show you how you can make your own lard and 5 different ways of using it. Let’s get started!
First, you will need some fat. I will be using 11 lbs. of pig fat and a little bit of chicken fat.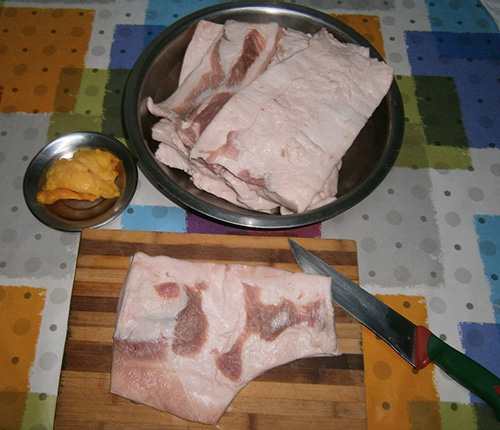
Place the fat on a cutting board and cut it into small cubes.
After cutting it all up, grab a normal pot and, first, add a cup of water because this way the fat won’t burn onto the pot.
Then, add the cubes of fat.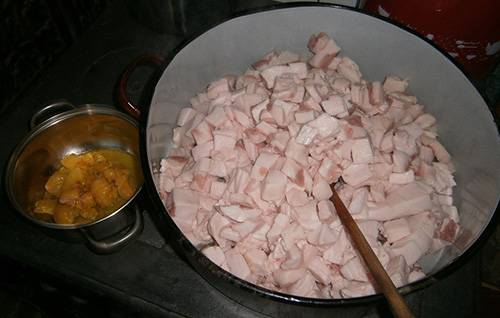
After placing everything inside, you can start melting the fat.
The cooking should take about 2 hours. When the fat cubes start to turn golden-brown and harden, take the pot off the fire. This is how it looked after the one-hour mark: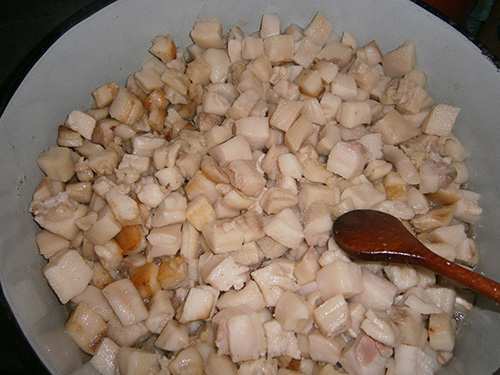
And the two-hour mark, when it was finished.
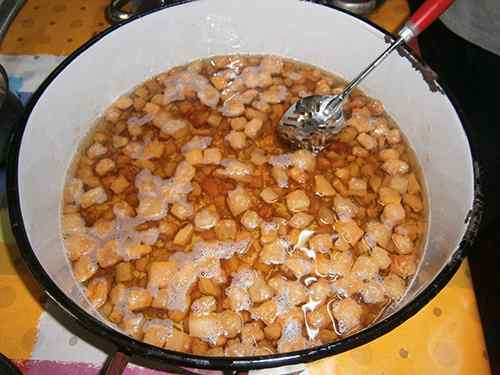
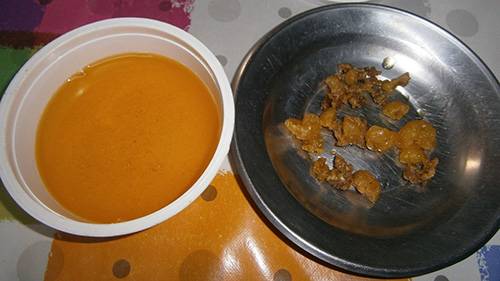
At this point, you will be left with two things:
- the melted fat,
- and greaves (which are a byproduct of the melted fat).
Both can be served warm or cold, depending on your preferences.
Here are the chicken greaves, after separating them from the fat:
Using a potato masher, I was able to extract more fat from the greaves. Gently and slowly push the greaves down until most of the fat is being removed from the inside.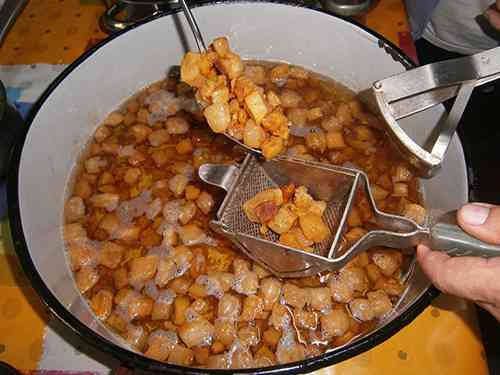
Do this while everything is still hot, this way you can remove the fat before it solidifies.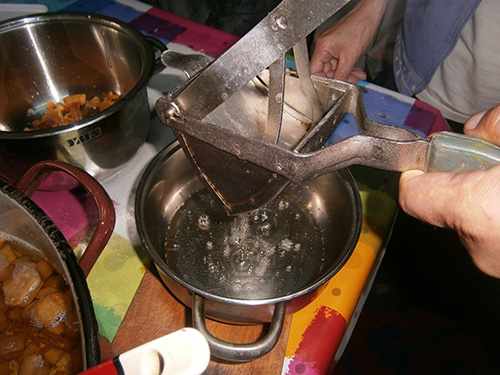
Now, remove the greaves from the potato masher. You can already see that they are way dryer than before.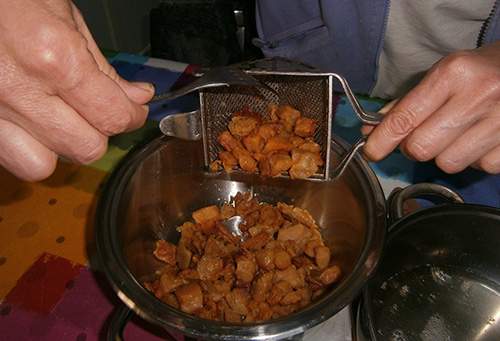
After finishing up, I was left with 2.20 lbs. of greaves and 3.5 liters of lard.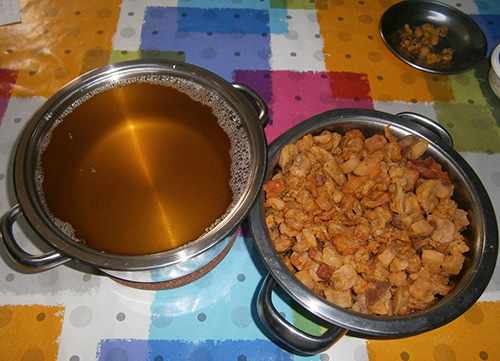
1. Eat as They Are
The greaves can be eaten by itself with some bread, salt, and onions.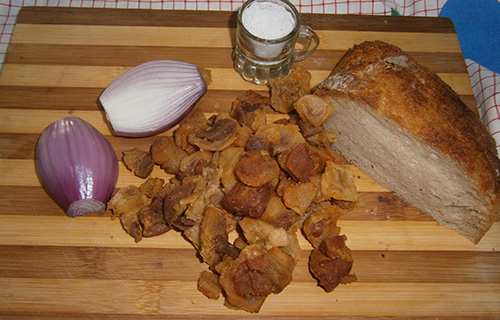
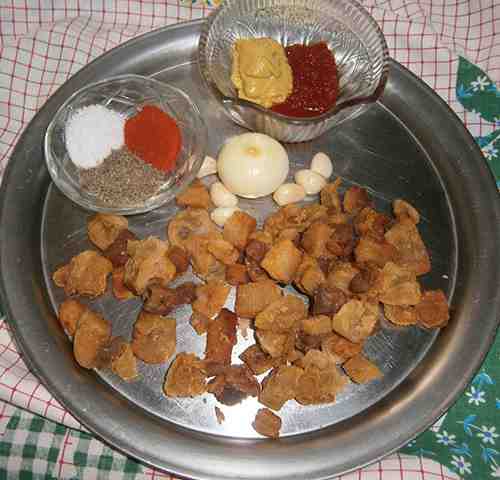
2. Tasty Spreading
Or you can make turn them into a spreading, following this recipe:
- 1 lb. of greaves
- 0.20 oz. of garlic
- 0.50 oz. of onion
- 3 teaspoons of mustard
- 1 teaspoon of (regular) pepper paste
- 1 teaspoon of ground pepper
- 1 teaspoons of salt
Using a meat grinder, you can create a paste that will surely fill your stomach. Of course, eat it with bread, onions, and salt. It’s extremely tasty and satisfying. 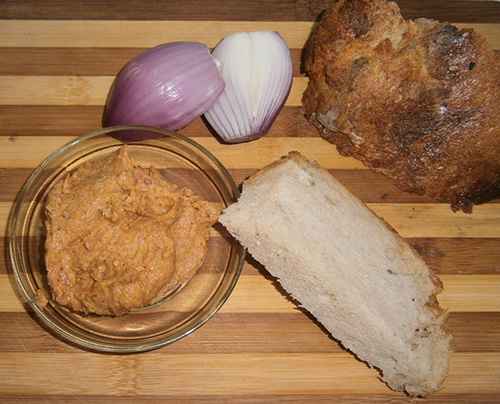
3. Greaves scones
You can also use the greaves for something more complex but twice as delicious. Greaves scones, which are great-tasting, salty scones, perfect to snack on while drinking a cold beer.
First, the ingredients:
- 0.55 lbs. of flour
- 5.50 oz. of grinded greaves
- 0.80 oz. of yeast
- 0.70 oz. of butter
- 2 eggs
- 1.5 teaspoons of salt
- 0.5 cups of milk
- 1 tablespoons of sour cream
- 1 teaspoons of sugar
Start by warming the milk on the stove, next add the sugar and the yeast. Mix everything else together (add the yolk of one egg only, the other egg and the rest of the egg white will be spread on top of the scones) in a bowl then add the milk to it. Mix it all together and let the dough rise for an hour in a warm place. Make small circular scones, cutting a grid on top of them. Finally, mix the egg white left from before together with the whole egg and brush it on top of the scones.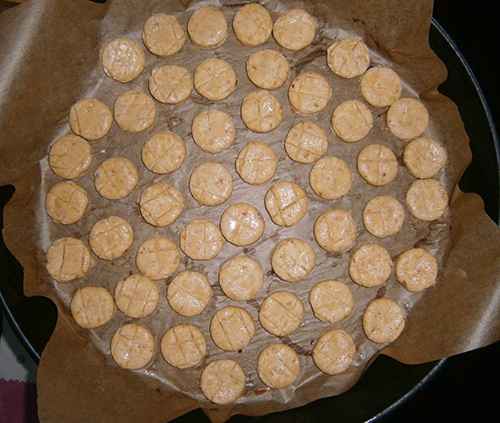
Finally, place the scones into the oven, cooking them until they all turn golden-brown.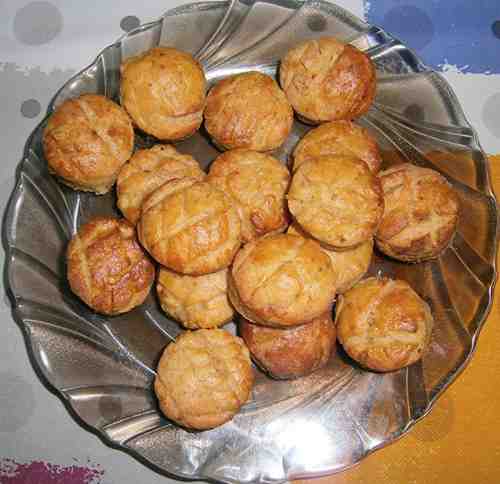
The lard we’ve previously collected will cool down slowly and solidify, getting a white color.
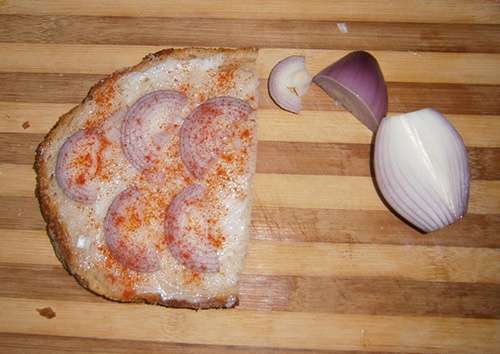
4. Lard on Bread
Spreading this on bread is one of the great ways to use it. Eat it with onions, salt and a little bit of pepper powder.
5. Pork in Lard for Long-Time Storage
If you have a few slices of pork, you might be able to make something that is not only delicious to be eaten fresh but can also be put away to stay fresh for half a year.
First, grab some of the solidified lard we’ve made and place it in a skillet.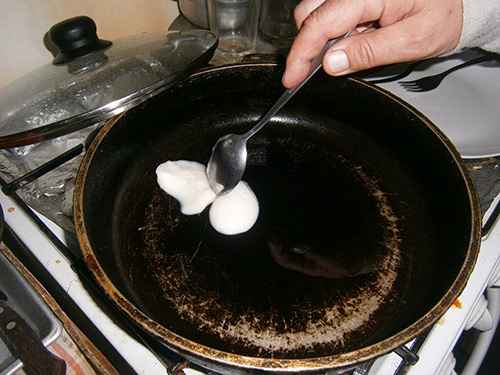
While the lard is getting hot, tenderize the slices and season it to your liking. After you are done, put it into fry.
Cook it a little, until it starts to change color, then take it out of the skillet and do the same with the rest of the slices.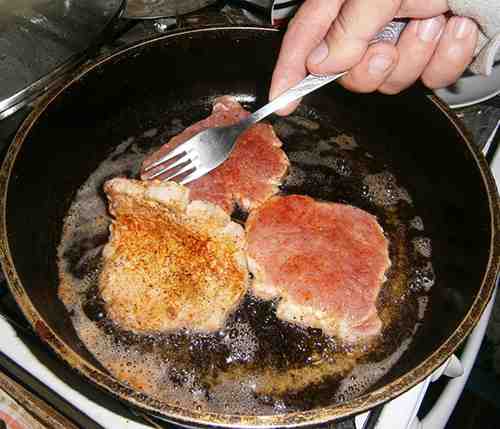
After all the slices are done, put it back onto the skillet with and lower the temperature. Add more lard and a little bit of garlic, onion, peppers, and tomatoes (or place vegetables in using your own taste).
Cook the slices until the meat dries. The drier the meat, the longer its shelf life will be.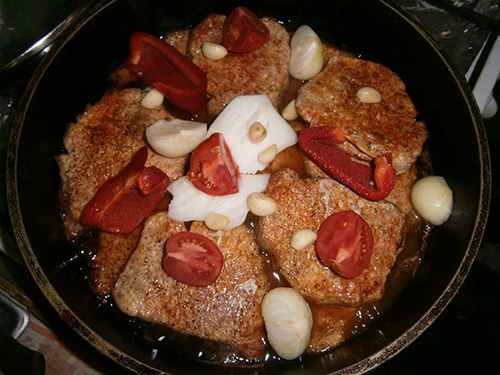
When we are finished with the meat, place them into a jar.
Add the lard we’ve fried the meat in for taste and to increase its shelf life.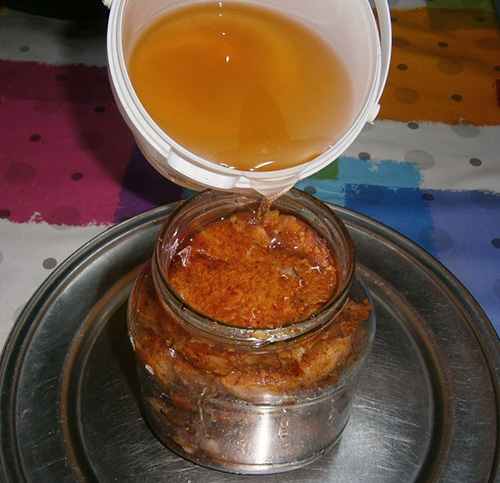
Put it away into a cold are, let it be a storage room or the fridge.


")


 in Cereal?")

